
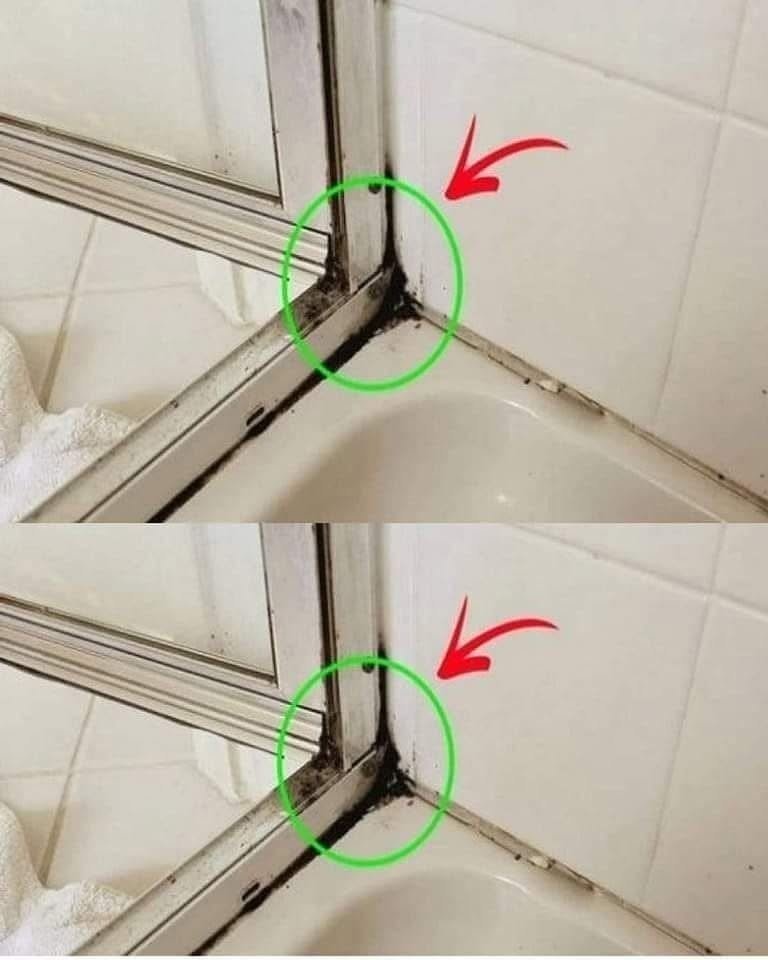
Forget the endless scrubbing with baking soda paste. The fastest, most effective method that actually dissolves the organism requires a specific, powerful agent and a delivery system that makes it cling to the vertical surface.
Here is the definitive, rapid approach, from the first aid to the nuclear option.
The Rapid-Clean Method (For Current, Manageable Mildew)
This method uses a common household chemical that is far more effective than bleach for this specific task: thickened, chlorine-based toilet bowl cleaner (not the blue, non-chlorine kind).
Why this works: Bleach alone is watery and drips off vertical silicone in seconds, not giving it enough time to oxidize the mildew roots. A quality toilet bowl cleaner contains sodium hypochlorite (bleach) but in a gel or viscous formula designed to cling to surfaces for extended contact time. This is the secret.
What You Need:
-
A gel or thick liquid toilet bowl cleaner with sodium hypochlorite (e.g., Clorox Clinging Bleach Gel or similar)
-
A respirator or N95 mask (bleach fumes in an enclosed shower are harsh)
-
Chemical-resistant gloves
-
Plastic wrap (cling film)
The 20-Minute, No-Scrub Protocol:
-
Ventilate: Turn on the bathroom fan, open a window. Put on your mask and gloves.
-
Apply the Gel: Run a thick, unbroken bead of the gel along every affected silicone seam. Be generous; it must be thick enough to not dry out.
-
The Cling-Wrap Seal (The Critical Step): Tear off pieces of plastic wrap and press them gently into the gel beads along the silicone. This locks the gel against the mildew, preventing evaporation and fumes, and forces the active ingredient downward into the silicone’s pores. Think of it as an intensive poultice.
-
Wait 20 Minutes, Then Rinse: Do not let it dry. After 20 minutes, peel off the plastic wrap (discard into a bag) and rinse the walls and seams thoroughly with warm water. Most of the mildew will have disappeared. For any deeper remaining spots, a light scrub with an old toothbrush while the gel is still on will finish the job.
-
Final Wash: Wash the whole shower with a regular cleanser to remove all bleach residue so it doesn’t damage the silicone over time.
The Nuclear Option (For Mildew Deep Inside the Silicone)
If the bleach gel method fails, the mildew is not just on the silicone; it’s behind it, feeding on the soap scum and moisture in the gap between the silicone and the wall. No surface cleaner can reach this. The silicone is breached.
The brutal truth: You must remove and replace the silicone bead. This is the fastest way to truly solve the problem at this stage, because endless cleaning will never reach the internal roots.
The 2-Hour Replacement (The Real “Fastest Way” to End It):
-
Buy a tube of 100% silicone sealant labeled “Kitchen & Bath” with a 10-year mold-free guarantee. Do not use acrylic caulk; it will mildew again in months.
-
Use a sharp utility knife and a silicone removal tool (a $5 hook-shaped plastic tool) to cut and scrape out every trace of the old silicone.
-
Vacuum the gap, then wipe it with isopropyl alcohol to ensure it’s perfectly clean and bone-dry. Any moisture left behind is a future mildew farm.
-
Fill the shower with a shallow pool of water. This weights the shower pan and pulls the gap open slightly. Fill the gap with the new silicone, tool it smooth with a finger dipped in soapy water, and leave it undisturbed for at least 24 hours (check the tube’s instructions) before exposing to water. This is the permanent fix.
The Final Shield: Prevention
Once it’s clean or new, the single most important habit is a daily 5-second squeegee. Mildew spores are always in the air; they only colonize in standing water. A dry silicone seam cannot grow mildew. A quick post-shower spray of a daily shower cleaner or a weak mix of white vinegar and water also acidifies the surface to prevent spore germination.