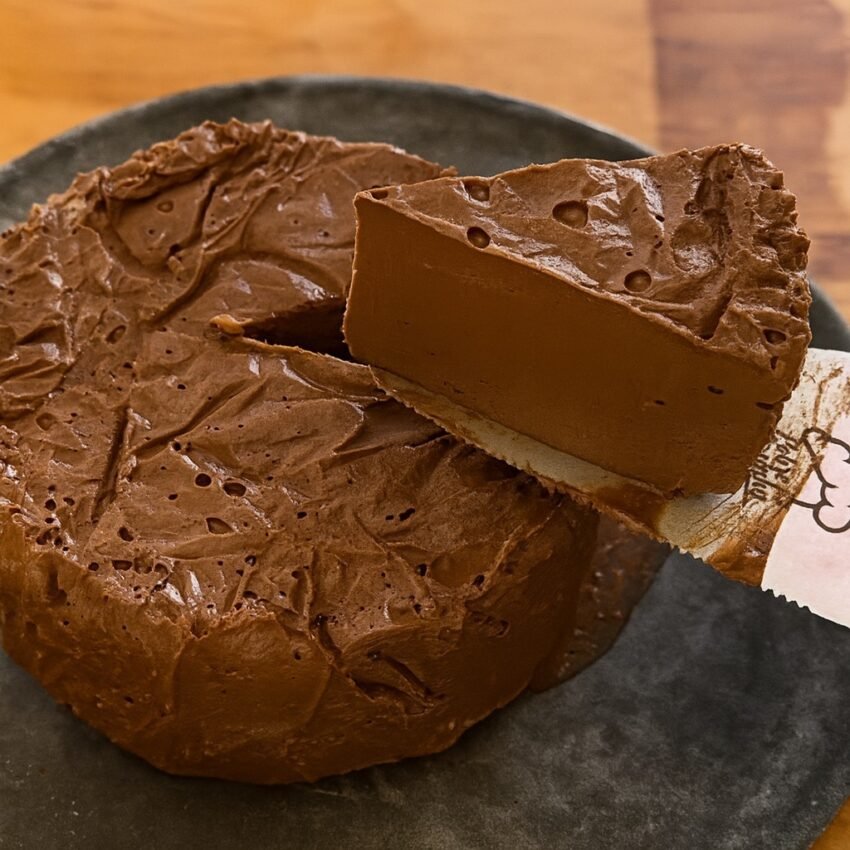
This No-Bake Chocolate Mousse Cake is the ultimate dessert for chocolate lovers. It features a rich, decadent chocolate mousse set on a buttery cookie crust, all without a single minute in the oven and no gelatin required.
The secret? A combination of melted chocolate and whipped cream creates a stable, silky mousse that sets perfectly in the refrigerator. It’s elegant enough for a dinner party yet simple enough to whip up on a whim.
The Grocery List (Ingredients)
*Serves 10-12 (for a 9-inch springform pan)*
For the Crust:
-
2 cups Chocolate Cookie Crumbs (about 200g, from Oreos with filling removed or chocolate graham crackers)
-
6 tablespoons Unsalted Butter, melted
-
2 tablespoons Granulated Sugar (optional, if your cookies aren’t very sweet)
For the Chocolate Mousse Filling:
-
16 oz High-Quality Semi-Sweet or Bittersweet Chocolate, finely chopped (do not use chocolate chips, as they contain stabilizers that affect melting)
-
2 cups Heavy Whipping Cream, divided
-
¼ cup Powdered Sugar
-
1 teaspoon Vanilla Extract
-
Pinch of Salt
For the Topping (Optional):
-
Cocoa powder, for dusting
-
Chocolate shavings or curls
-
Fresh raspberries or strawberries
The Step-by-Step Method
Step 1: Prepare the Pan
-
Lightly grease a 9-inch springform pan and line the bottom with a circle of parchment paper.
Step 2: Make the Crust
-
In a medium bowl, combine the chocolate cookie crumbs and melted butter. Stir until the mixture resembles wet sand and holds together when pressed.
-
Transfer the mixture to the prepared pan. Press it firmly and evenly into the bottom. Use the bottom of a measuring cup or glass to really compact it.
-
Place the crust in the refrigerator to set while you make the filling.
Step 3: Melt the Chocolate
-
Place the finely chopped chocolate in a large, heat-safe bowl.
-
Heat 1 cup of the heavy cream in a small saucepan over medium heat until it just begins to simmer (small bubbles around the edge). Do not let it boil.
-
Pour the hot cream over the chopped chocolate. Let it sit undisturbed for 2-3 minutes.
-
Gently whisk until the chocolate is completely melted and the mixture is smooth and glossy. This is called a ganache. Let it cool to room temperature (it should be slightly warm to the touch but not hot).
Step 4: Whip the Remaining Cream
-
In a separate large bowl, combine the remaining 1 cup of heavy cream, powdered sugar, vanilla extract, and a pinch of salt.
-
Using a hand mixer or stand mixer with the whisk attachment, whip the cream until stiff peaks form. Be careful not to over-whip into butter.
Step 5: Combine Chocolate and Whipped Cream
-
Take about one-third of the whipped cream and whisk it into the cooled chocolate ganache. This “tempers” the mixture and lightens it.
-
Gently fold in the remaining whipped cream with a spatula. Use a slow, deliberate folding motion (cutting down through the center and scraping up the sides) until no white streaks remain. Be gentle to keep the mousse airy.
Step 6: Assemble and Chill
-
Remove the crust from the refrigerator.
-
Pour the chocolate mousse filling over the crust and spread it into an even layer with a spatula.
-
Cover the pan loosely with plastic wrap (don’t let it touch the surface) and refrigerate for at least 6-8 hours, but preferably overnight. The mousse needs this time to set properly.
Step 7: Release and Serve
-
Once fully set, run a thin knife around the edge of the pan to loosen the cake. Release the springform latch and remove the ring.
-
Dust with cocoa powder or top with chocolate shavings and fresh berries before serving.
-
For clean slices, dip a sharp knife in hot water, wipe it dry, and cut between each slice.
Storage
-
Refrigerator: Store the cake covered in the refrigerator for up to 4 days.
-
Freezer: This cake freezes beautifully! Once fully set, wrap the cake (still in the pan or removed) tightly in plastic wrap and then foil. Freeze for up to 3 months. Thaw overnight in the refrigerator before serving.
Pro-Tips for Success
-
Quality Chocolate Matters: Since this cake is all about the chocolate flavor, use a high-quality chocolate you enjoy eating. Semi-sweet (around 55-60% cocoa) or bittersweet (70%) both work beautifully.
-
Don’t Use Chocolate Chips: Most chocolate chips contain stabilizers that help them hold their shape, which can prevent them from melting smoothly into a silky ganache. Use a chocolate bar and chop it finely.
-
Room Temperature Ganache: If you add the whipped cream to warm ganache, it will melt. If you let it cool completely, it may seize up. Aim for “slightly warm to the touch, but not hot.”
-
Springform Pan is Key: A springform pan makes releasing this delicate cake much easier. If you don’t have one, line a regular cake pan with enough parchment overhang to lift the cake out.
-
Flavor Variations: Add a teaspoon of instant espresso powder to the warm cream to enhance the chocolate flavor, or a teaspoon of orange extract or peppermint extract for a different twist.