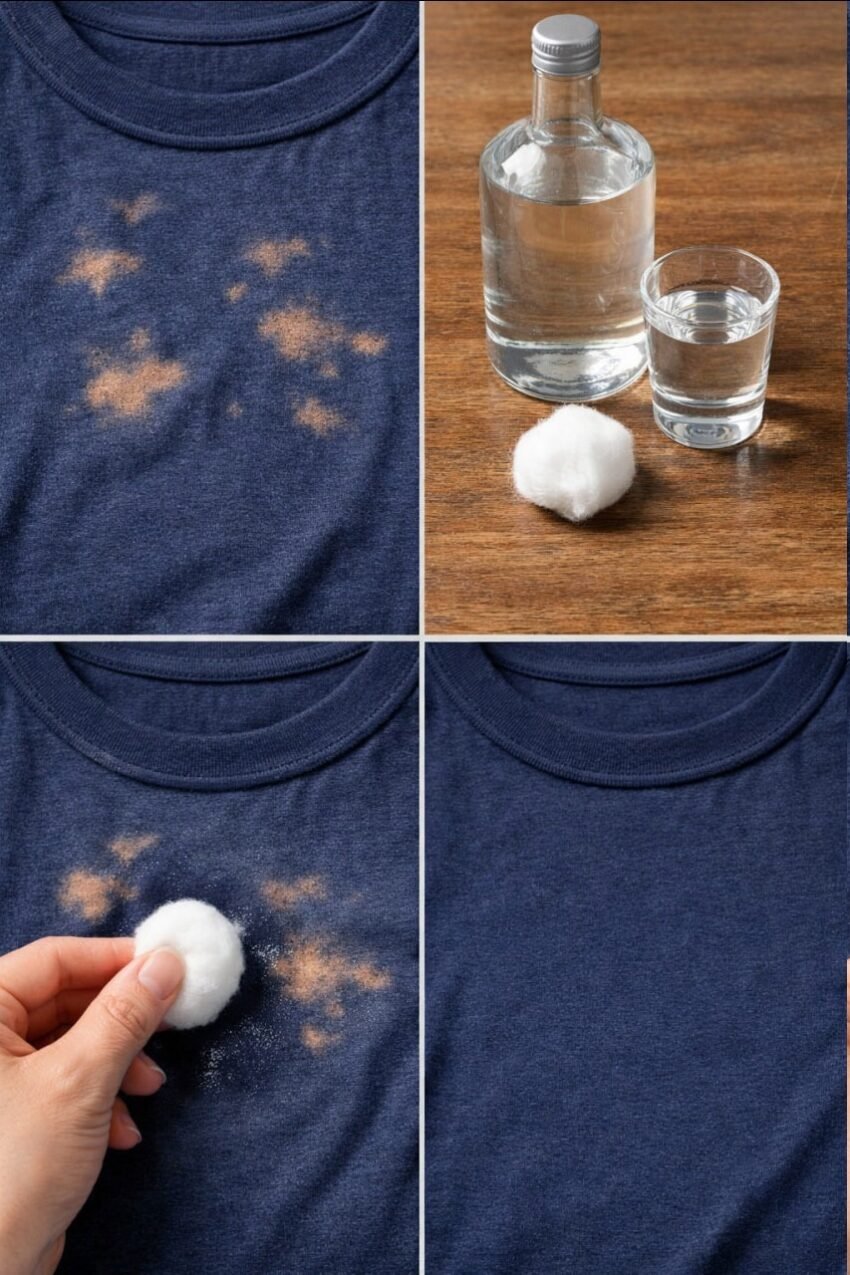
While bleach removes color permanently (it doesn’t just sit on top of fabric like a food stain), you can camouflage, cover, or creatively transform the damaged area. Below are the best solutions, from easy fixes to full redesigns.
First: Understand What Bleach Does
Bleach (sodium hypochlorite) destroys the dye molecules in fabric. You cannot “wash out” a bleach stain or re-dye just the spot easily because the stain is actually missing color. However, you can:
-
Add color back (fabric dye markers, tie-dye)
-
Cover it up (embroidery, patches, fabric paint)
-
Embrace it (bleach more of the garment intentionally)
Quick Fixes (Minimal Effort)
1. Color-Changing Fabric Markers or Pens
Best for: Small dots or splatters on dark clothing
-
Product examples: Tulip ColorShot Instant Fabric Color, Sharpie Stained by Sharpie (fabric markers), or Rit DyeMore for touch-ups
-
How: Match marker color to garment (or go contrasting). Color over the bleach spot. Heat-set with an iron (check marker instructions).
-
Limitation: May not match perfectly; looks best on solid colors.
2. Fabric Paint (Sponged or Stippled)
Best for: Small to medium spots
-
Mix fabric paint to match original color (or use a neutral like black, navy, or charcoal).
-
Apply with a stippling brush or sponge to blend edges.
-
Heat-set with an iron.
3. RIT Dye Pen or Liquid Dye (Spot Treatment)
-
Dip a cotton swab or small brush into diluted RIT dye.
-
Dab carefully onto the bleach spot.
-
Blot excess and let dry. Repeat for deeper color.
-
Note: Works best on natural fibers (cotton, linen); less predictable on synthetics.
Medium Effort (Crafty Solutions)
4. Cover with Embroidery or Appliqué
Perfect for: Small to medium stains on shirts, jeans, or jackets
-
Embroidery: Stitch a flower, star, or geometric shape over the spot. Use contrasting thread for a deliberate “visible mending” look.
-
Appliqués: Iron-on patches (cute designs like hearts, skulls, leaves) or sew on fabric cutouts.
-
No-sew option: Fabric glue + felt or denim patch.
5. Bleach-Dye the Whole Garment (Reverse Tie-Dye)
Best for: Multiple bleach spots or a deliberate tie-dye look
How to do it:
-
Lay the garment flat.
-
Use a spray bottle with 50/50 bleach and water, or dip fabric folds into diluted bleach.
-
Let bleach sit until desired lightening occurs (5–15 minutes).
-
Rinse thoroughly, then neutralize with hydrogen peroxide or vinegar solution (1 part vinegar: 10 parts water).
-
Wash normally.
Results: A custom black-to-orange, navy-to-pink, or dark-to-cream pattern.
Advanced Fixes (Total Transformation)
6. Overdye the Entire Garment
Best for: Solid-colored garments you’re willing to change completely
-
Natural fibers (cotton, linen, denim): Use RIT all-purpose dye. Dye the whole garment a darker color than original (e.g., dye a bleach-stained navy shirt black, or a gray shirt deep purple).
-
Polyester/nylon: Requires RIT DyMore or iDye Poly + boiling water.
-
How: Remove any visible stains first? No — you’re dyeing over everything. Bleach spots will still be slightly lighter but much less noticeable.
7. Fabric Shaving or Felt Application (for thick fabrics like sweatshirts)
-
For bleach that weakened fibers, cover with a piece of contrasting felt or fleece cut into a shape (e.g., pocket, stripe, elbow patch). Sew or glue on.
8. Make It Fashion (Strategic Bleaching)
Use bleach as a design tool:
-
Dip sleeves or hem in bleach for an ombré effect.
-
Use stencils and a bleach pen to draw intentional designs (stripes, polka dots, words).
-
Splatter bleach from a toothbrush for a “starry night” or “acid wash” look.
What NOT to Do
| Mistake | Why It Fails |
|---|---|
| Rubbing a bleach stain | Spreads the damage; fibers may weaken |
| Using regular markers | Will wash out or bleed (fabric markers only) |
| Pouring undiluted bleach on a large area to “even it out” | Will eat through fabric or create uneven holes |
| Ironing over a fresh bleach stain | Traps the chemical; can worsen damage |
Prevention for Next Time
-
Dilute bleach before adding to laundry (never pour directly onto clothes).
-
Wear an apron when cleaning with bleach.
-
Keep a bleach pen for spot-cleaning whites only.
-
Add bleach to water first, then add clothes.
Summary Table: Which Fix Is Right for You?
| Bleach Stain Size | Fabric Type | Best Solution |
|---|---|---|
| Tiny dots (pinhead) | Any | Fabric marker or bleach pen (design) |
| Nickel-sized or larger | Cotton, denim | Embroidery, patch, or tie-dye |
| Multiple spots | Dark cotton | Reverse tie-dye or overdye darker |
| Large splatter | White/light fabric | Overdye a new color |
| On a favorite black shirt | Black cotton | Black fabric marker + overdye with black RIT |
The “No-Sew, 5-Minute” Emergency Fix
If you need to wear the item today and none of the above is possible:
-
For dark fabric: Use a black permanent marker (Sharpie) on cotton or denim — yes, it fades after washes but works temporarily. Reapply as needed.
-
For light fabric: Rub a white fabric crayon or chalk into the spot (temporary disguise).
-
Wear strategically: Layer a jacket, sweater, or scarf over the stain.
Would you like step-by-step photo-style instructions for reverse tie-dye with bleach, or a list of specific fabric marker/dye products that work best on different materials (cotton vs. polyester vs. spandex blends)?