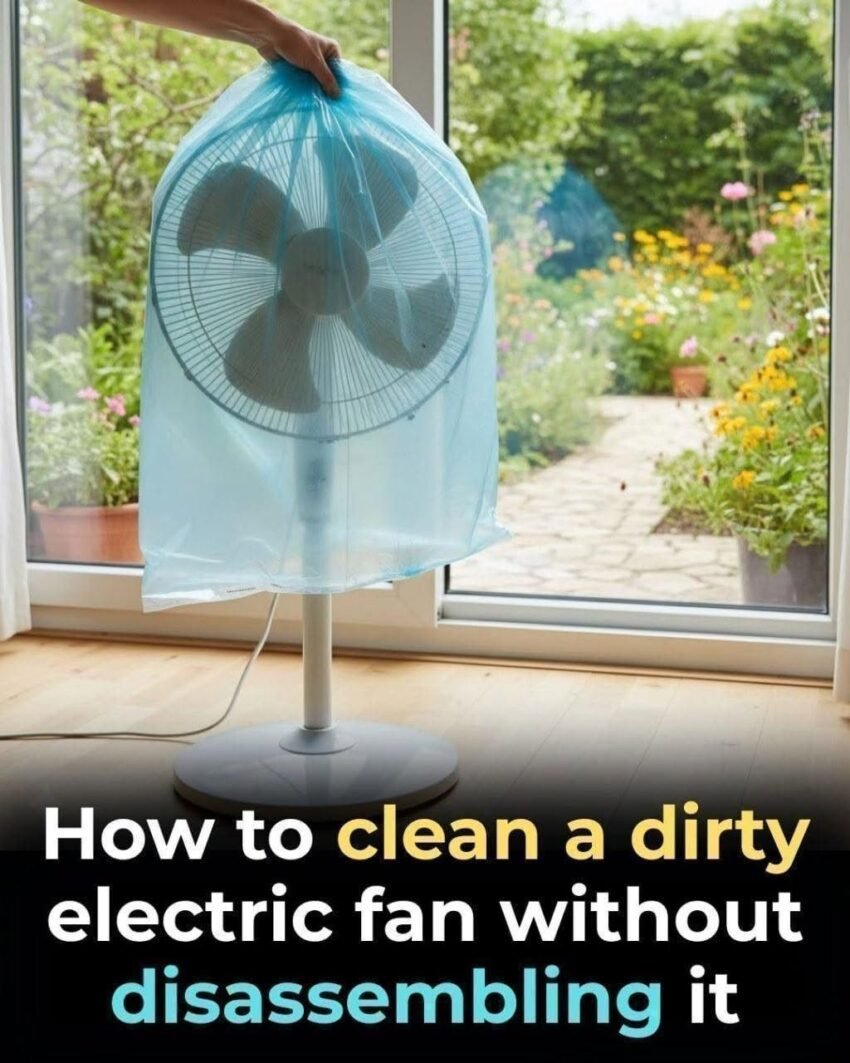
Cleaning a fan without taking it apart is a common household challenge—you want it clean, but the thought of unscrewing the cage and wrestling with the blades feels like a project you don’t have time for. The good news is that you can get a fan 90-95% clean with a method that takes about 5-10 minutes. The bad news is that doing it carelessly just spreads dust bunnies across your room.
Here is the efficient, mess-free method that combines the right tools, containment of the dust, and a crucial final step that most people forget.
The Core Principle: Contain, Don’t Disperse
The biggest mistake is taking a dry cloth or a feather duster to a dusty fan while it’s running or even just sitting there. You knock off large, greasy dust clumps that become airborne and resettle on every surface in the room, and you inhale them. You must trap the dust before you remove it.
The Efficient, Mess-Free Method
Step 1: The Pillowcase Trap (The Game-Changer)
This is the single most effective technique for the front grille and blades without making a mess.
-
What You Need: An old pillowcase you don’t care about, or a large trash bag. A spray bottle with an all-purpose cleaner or a mix of warm water and a drop of dish soap.
-
The Method:
-
Unplug the fan. Non-negotiable.
-
Spray the inside of the pillowcase lightly with your cleaner until it’s slightly damp.
-
Drape the entire pillowcase over the front grille of the fan, pushing it through the cage so the damp fabric makes contact with the front of the blades.
-
From the outside, gently press the pillowcase against the blades and grille, wiping down each blade and the grille spokes from the front. The damp cloth traps the dust inside the bag. Slowly pull the pillowcase back out, turning it inside out as you go, trapping all the dust and grime inside the bag.
-
Shake the pillowcase out directly into your outside trash bin and then toss it straight into the laundry. You’ve just cleaned the front of the blades and the outward-facing grille with almost zero mess.
-
Step 2: The Aerosol Assault on the Back Grille
The back grille is often caked with a thick layer of grey lint.
-
What You Need: A can of compressed air (the kind used for electronics), or a hair dryer set to “cool” and high speed. In a pinch, a vacuum cleaner with a brush attachment and the hose set to “blow” is the ultimate dust eviction tool.
-
The Method:
-
Take the fan outside, to a balcony, or hold it over the bathtub. This is the dust dispersal step, so you do not want to do this in the middle of your bedroom.
-
Aim the compressed air or blower through the back grille, forcing the dust out through the front. This clears the inner motor housing and the back of the blades that the pillowcase couldn’t reach.
-
Step 3: The “Forgotten” Detail (The Q-Tip & Sock Finish)
This is the step that makes the fan look new, not just “less dusty.”
-
The Grille Edges: Use a microfiber cloth wrapped around a butter knife or chopstick to floss between the individual spokes of the grille if any stubborn dust remains.
-
The Blade Edges: A sock on your hand, sprayed with cleaner, allows you to reach through the grille and pinch-wipe the flat edge of each blade where a thick line of stubborn, slightly greasy dust always accumulates.
-
The Motor Housing: The air intake vents on the side of the motor are often covered in a fuzzy dust carpet. A dry toothbrush or a clean paintbrush is perfect for agitating this dust while holding a vacuum hose nearby to suck it up instantly.
One Critical Warning
Do not saturate the fan with liquid spray. Avoid spraying cleaner directly onto the motor housing or through the grille onto the electrical components. You want the cloth to be damp, never wet. Introducing moisture into the motor can cause it to short out or rust the internal bearings, which creates an irreparable, annoying clicking sound. Always ensure everything is completely dry before plugging it back in.
This three-step process—pillowcase trap, aerosol evacuation, detail finish—gives you a clean fan in minutes without ever touching a screwdriver.