
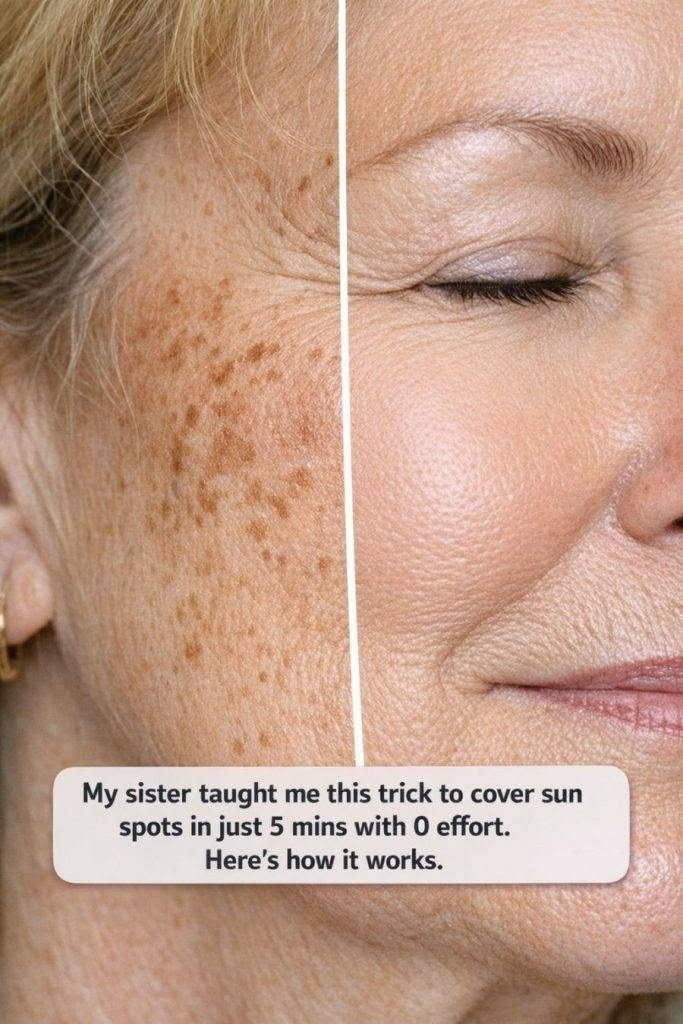
Let’s be real for a second: we all have those little marks on our skin that we sometimes wish would just take a day off. Sun spots—those tiny, stubborn patches of darker skin that pop up after years of enjoying the outdoors—can be totally harmless, but that doesn’t mean we always feel confident about them. I used to waste so much time layering on concealer, only to have it crease, fade, or look cakey by lunchtime.
Then my sister, who’s basically a human Pinterest board of beauty hacks, pulled me aside and whispered, “I’ve got a trick.” Five minutes. Zero effort. No fancy tools. And honestly? It changed my morning routine forever. If you’ve ever felt frustrated trying to hide sun spots without looking like you’re wearing a mask, this one’s for you.
What Are Sun Spots, Anyway? (And Why Do They Bother Us?)
Before we dive into the fix, let’s quickly talk about what we’re working with. Sun spots (also called age spots or solar lentigines) are those flat, brownish patches that show up on areas most exposed to the sun—think your face, hands, shoulders, and arms. They’re caused by cumulative UV exposure over time, and while they’re completely harmless from a health standpoint, they can make our skin tone look uneven or older than we feel.
The good news? You don’t need a dermatologist’s appointment or a pricey serum to minimize their appearance right now. This trick is all about smart, strategic coverage that looks natural and lasts.
What You’ll Need: The Simple 4-Product Lineup
The beauty of this method is that you probably already have everything in your makeup bag. No special brushes, no color-correcting palettes, no stress.
- A lightweight, hydrating moisturizer or primer: This creates a smooth base so your coverage doesn’t cling to dry patches.
- Substitute: A dab of facial oil or even aloe Vera gel works in a pinch.
- A creamy, full-coverage concealer that matches your skin tone exactly (not lighter!).
- Pro tip: Test shades on your jawline in natural light. If you have deeper sun spots, keep a slightly warmer tone on hand for extra neutralizing power.
- A tiny, precise brush (like a lip brush or small concealer brush) OR your clean fingertip.
- A translucent setting powder (loose or pressed).
- Substitute: A light dusting of your regular face powder works, but translucent keeps the color true.
That’s it! Four simple products, most of which you likely use every day anyway.
When to Use This Trick (And When to Try Something Else)
he 5-Minute Method: Step by Step
1. Prep Your Skin (1 minute)
Start with clean, moisturized skin. If you’re doing this as part of your morning routine, apply your regular moisturizer and let it sink in for 30 seconds. If your skin is oily, a quick swipe of primer on the spot area helps the concealer stay put. The goal? A smooth, hydrated canvas—no tugging or dryness.
2. Dot, Don’t Swipe (2 minutes)
Here’s where most people go wrong: they swipe concealer broadly over the sun spot, which can look obvious and settle into fine lines. Instead, use your tiny brush or fingertip to dot the concealer directly onto the darkest part of the spot. Start with less than you think you need—you can always build.
Gently pat (never rub!) the edges outward just enough to blend the perimeter into your skin. The center should stay concentrated. This targeted approach means you’re covering the discoloration without masking your entire face.
3. Set It and Forget It (1 minute)
Before your concealer has a chance to move, lightly press a tiny amount of translucent powder over the spot with a fluffy brush or your fingertip. This locks everything in place and prevents that midday fade. If you have dry skin, just dust the very center—no need to powder the whole area.
4. Blend Into Your Routine (1 minute)
Finish the rest of your makeup as usual. If you wear foundation, apply it around the concealed spot and gently blend outward—avoid dragging product directly over the spot, which can disturb your careful work. A quick mist of setting spray at the end helps everything melt together seamlessly.
And that’s it! Five minutes, zero stress, and a finish that looks like your skin, just… more even.
Pro Tips for Flawless, Long-Lasting Coverage
- Less is more: It’s easier to add another tiny dot of concealer than to fix a heavy, cakey application.
- Warm it up: If your concealer is too thick, warm a tiny amount on the back of your hand first—it’ll blend more naturally.
- Color theory hack: For very dark or gray-toned sun spots, a tiny dab of peach or orange color corrector underneath your concealer can neutralize the darkness. Just a pinprick—then cover with your skin-tone concealer as usual.
- Hands need love too: This trick works beautifully on sun spots on your hands! Just follow the same steps and set well, since hands move and wash frequently.
When to Use This Trick (And When to Try Something Else)
This method is perfect for:
- Quick morning routines when you want to look polished fast
- Special occasions where you want your skin to look flawless in photos
- Days when your sun spots feel more noticeable than usual
Consider pairing it with long-term care if:
- You want to gradually fade sun spots over time (hello, vitamin C serum and daily SPF!)
- Your spots change in size, shape, or color—always check with a dermatologist if you notice anything new or unusual
Frequently Asked Questions
Will this trick work on redness or acne scars too? Absolutely! The same dot-and-pat technique works beautifully for any localized discoloration. Just be sure your concealer matches your surrounding skin tone for a seamless blend.
How do I make this last all day? Setting powder is your best friend. If you have oily skin, you can also lightly blot with a tissue midday and re-press a tiny bit of powder—no need to reapply concealer.
Can I use this without wearing full makeup? Yes! This is actually ideal for “no-makeup” makeup days. Just moisturize, spot-conceal, set, and go. Your skin will look naturally even without any obvious makeup.
What if my concealer still looks ashy or gray on my sun spots? This usually means the undertone is off. Sun spots often have a neutral or slightly warm cast, so try a concealer with a hint of golden or peachy undertone. Test in natural light before committing!